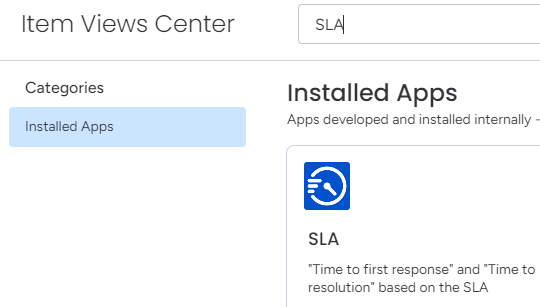
SLA
How to use
You can use SLAs on any type of item (Task, Goal, Project, ...).
Note that viewer (guests) cannot use this app.
(User
types explained - on monday knowledge base)


First steps
First steps
Within the application, you can select a predefined workspace template that showcases a sample SLA configuration. This template serves as a helpful reference, illustrating how SLAs can be structured and applied within the system. Once selected, you have the flexibility to customize it to fit your specific needs.
To further refine your workflow, the app allows you to enhance your existing boards by adding individual views. The following sections will guide you through the process of selecting, positioning, and configuring these views to ensure seamless integration into your current setup.
Beyond SLA configurations, our app also provides different board views to support various tracking needs. In addition to the SLA Board View and SLA Item View described below, we offer a Time in Status Board View and Item View. A detailed explanation of these views, along with their integration, can be found on the page: How to use our Time in Status integrations within Board automation
Due Date Countdown widget
Due Date Countdown widget
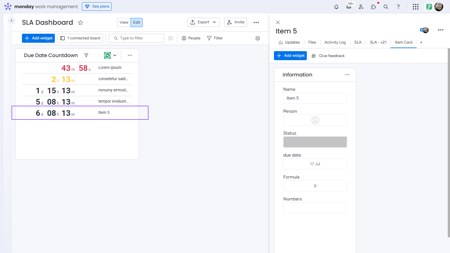
Always know how much time you have left with the Due Date Countdown. See every deadline at a glance, right where you work.
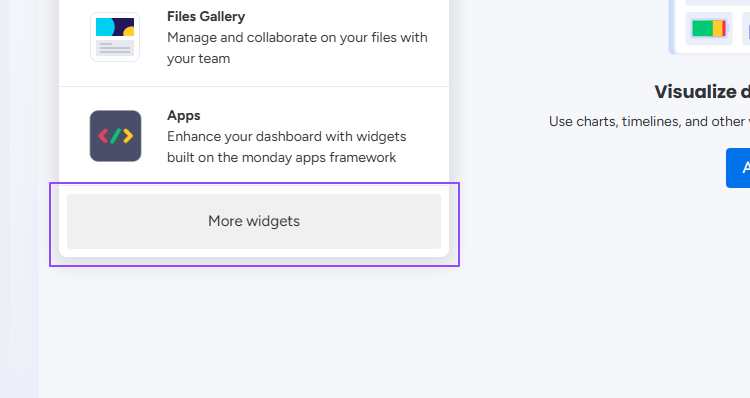
1. Click on "+ Add widget" and then on "More widgets"

2. Search for "Due Date Countdown" and click on "Add widget"

3. The widget will appear on your dashboard right away
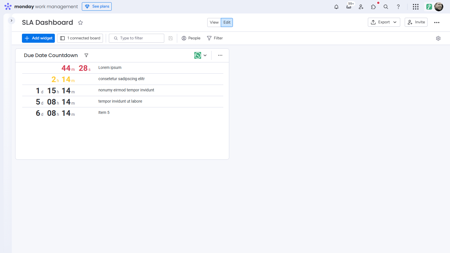
4. Clicking on a list entry allows you to edit it using the item card
Use our workspace template
Use our workspace template
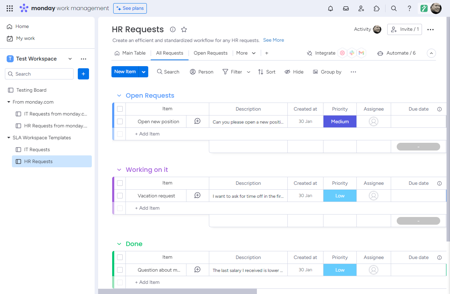
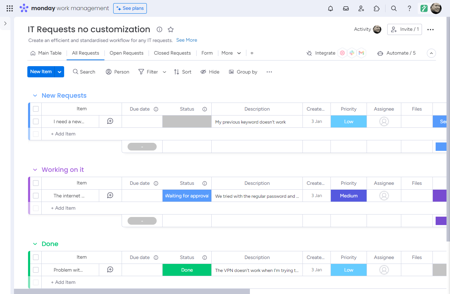
Our workspace template comes with two boards in which our board automations are integrated.
You can use the SLA features straight through the template.
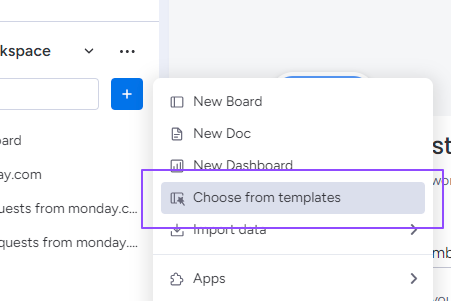
1. Click on "Add item to workspace" and then on "Choose from templates"
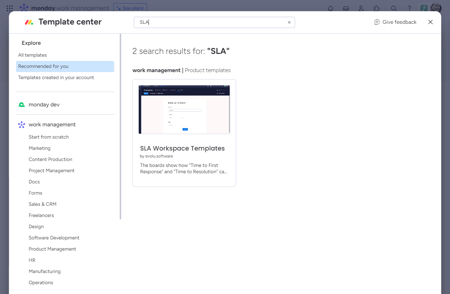
2. Search for "SLA" and click on "SLA Workspace Templates"
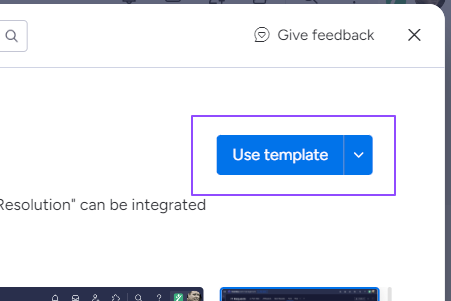
3. Click on "Use template"
4. You can see that several boards have been created
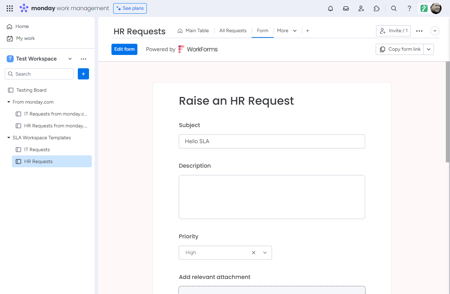
5. Open "Form" and fill out the Subject and Priority
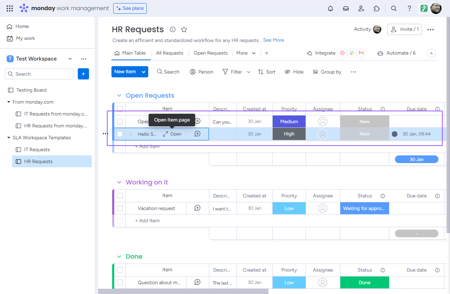
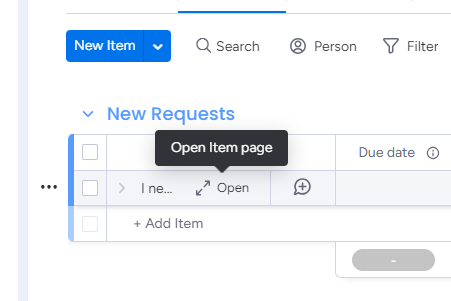
6. The item has been created and has a due date. Click on "Open Item page"
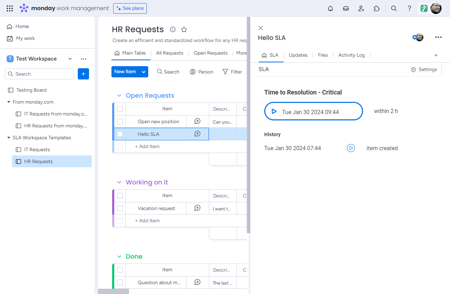
7. As you can see, the item has an ongoing SLA
Open the SLA Reports Board view
Open the SLA Reports Board view
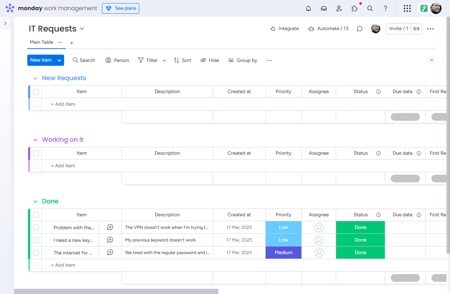
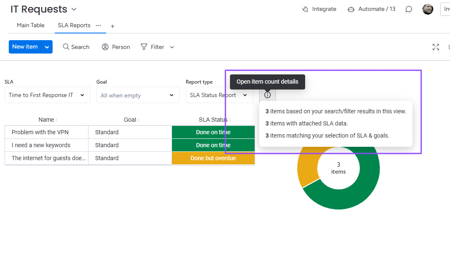
The SLA Reports Board View provides an overview of key metrics related to your SLAs. This view allows you to monitor the current status of items, track their progress, and analyze performance trends over time.
1. Open your Board
2. Click on "Add view", select "Apps" and click on "SLA Reports"
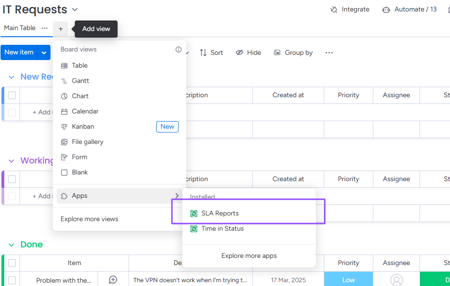
3. The SLA Reports view opens. Let's explore this view
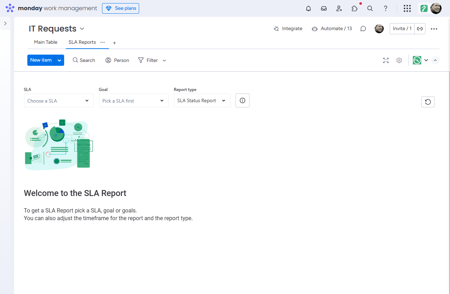
4. After selecting an SLA, the items that contain this SLA and their current status are displayed.
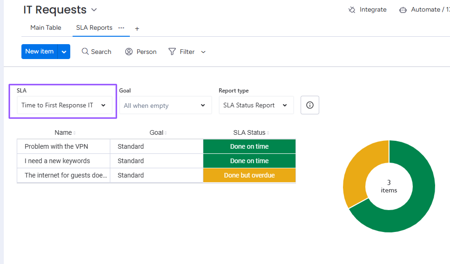
5. The "item count details" dialog shows you why the item count has been reached.
Activate the SLA Item view
Activate the SLA Item view
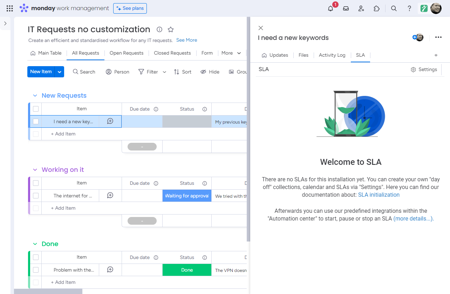
The SLA View allows you to see the SLAs created for an item.
You can also use this view to switch directly to the settings or have the current status of the
SLAs highlighted.
1. Open your Board
2. Click on "Open item page"
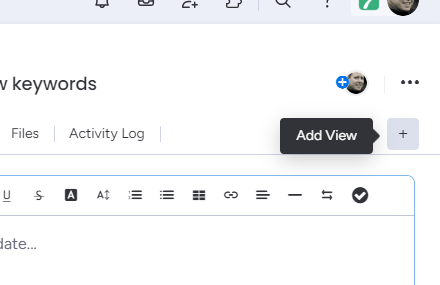
3. Click on "Add View"
4. Search for "SLA" and click on "Add to item"
5. Now lets init the SLA within "Settings" and use our integrations
Custom setup
Custom setup
For more advanced customization, you can tailor the SLA configuration and board automation to fit your specific workflow requirements. This section will walk you through the key steps to initialize your SLA settings and extend board automation, allowing you to adapt the system to your needs with greater flexibility.
Init the SLA settings
Init the SLA settings
SLA is shipped with a set of predefined SLAs. This allows you to use the workspace templates and
the integrations out of the box.
In order to create your own SLAs or customize the existing SLAs, you must initialize the
SLA settings.
Click here for more details about: SLA
Initialization
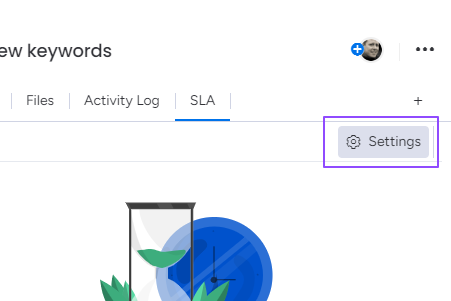
1. Click on Settings within the SLA View
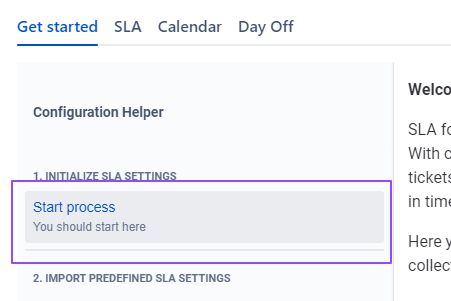
2. Click on "Start process"
3. Select your Timezone, one of the listed Days off, the initial Calendar and click on "Start"
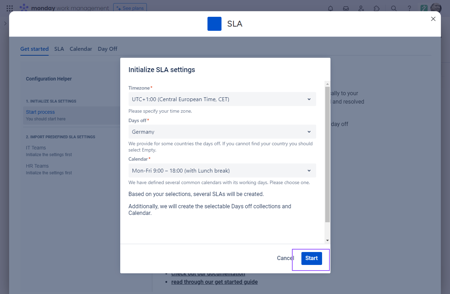
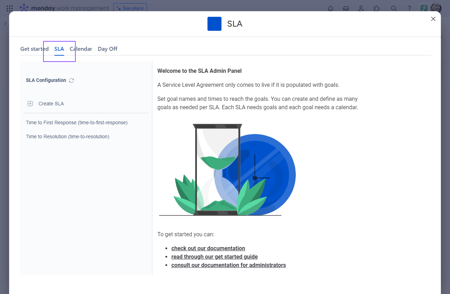
4. the Select "SLA" tab to review the SLAs that have been created
Extend the Board automation
Extend the Board automation
Here we show you how to start and stop an SLA.
We have created a number of integrations so that you can start, pause, resume, stop and
restart an SLA.
Click here for more details about: How to use
our integrations within Board automation
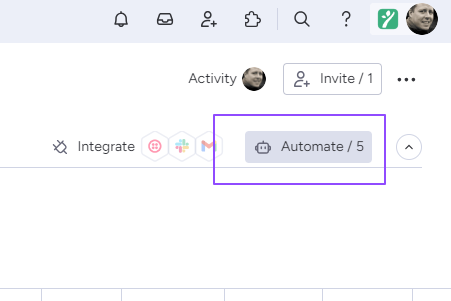
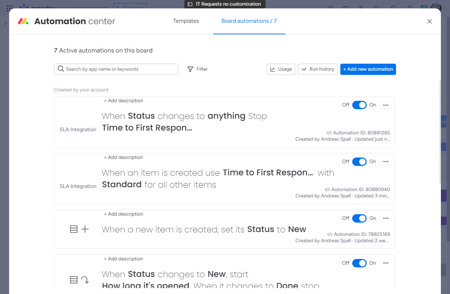
1. Open your Board and Click on "Automate" to open the Board automation
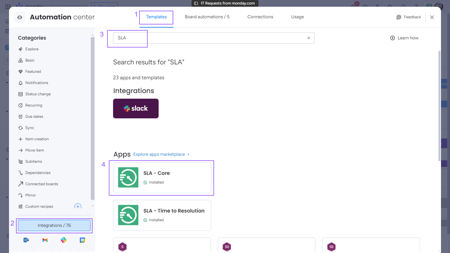
2. (1) Select the "Templates"-tab. (2) Select Integrations. (3) Search for SLA. (4) Select the "SLA - Core" App
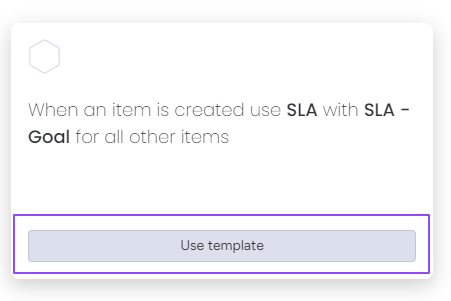
3. Click "Use template" on "When an item is created use SLA with SLA - Goal for all other items"
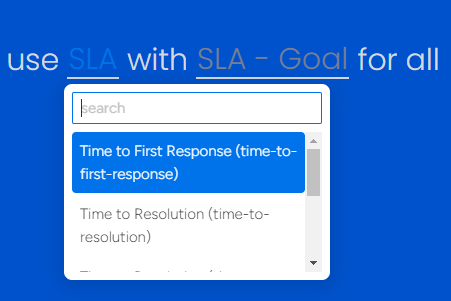
4. Select "Time to First Response (time-to-first-response)" as "SLA"
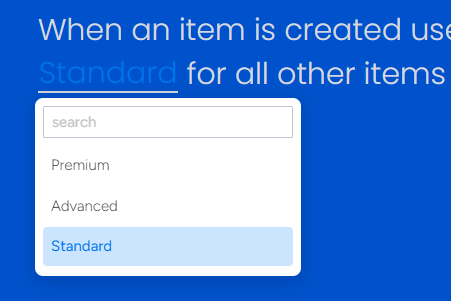
5. Select "Standard" as "SLA-Goal" and click "Add to Board"
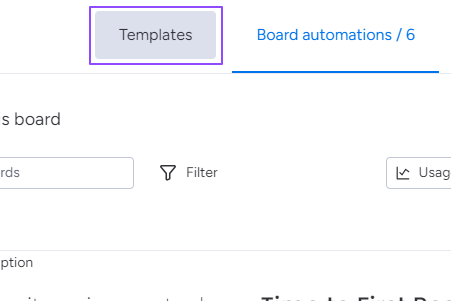
6. Switch from "Board automations" to "Templates"
6.1 (1) Select the "Templates"-tab. (2) Select Integrations. (3) Search for SLA. (4) Select the "SLA - Core" App
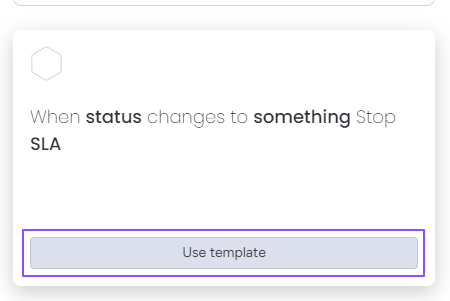
7. Click "Use template" on "When status changes to something Stop SLA"
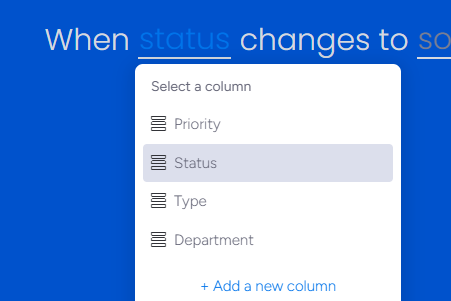
8. Select "Status" as "status"
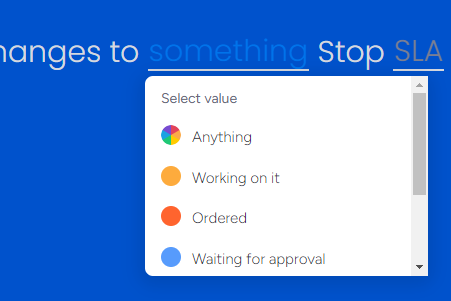
9. Select "Anything" as "something"
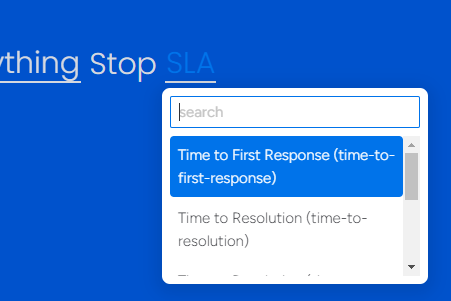
10. Select "Time to First Response (time-to-first-response)" as "SLA" and click "Add to Board"
11. Close the Automation center"
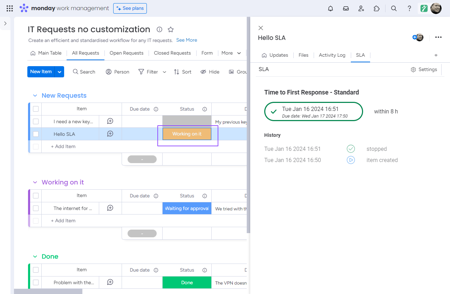
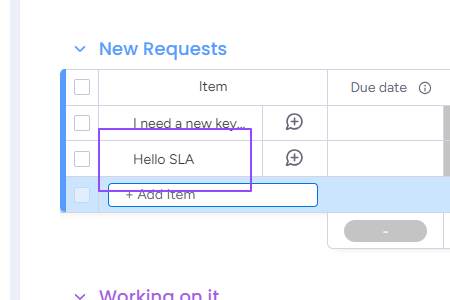
12. Create a new Item (e.g. "Hello SLA")
13. Open the SLA View and check the now running SLA"
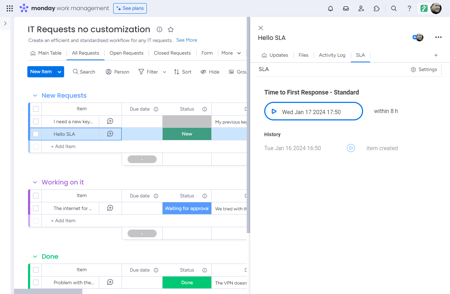
14. Change the Status to "Working on it" and the SLA will be automatically stopped